


Deployment regions
Table of contents
Introduction
You can deploy Hasura Cloud projects in one of the supported regions (more regions are coming soon). A project’s region of deployment can be selected while creating the project and it can be changed later from the project details.
Selecting the region while creating a project
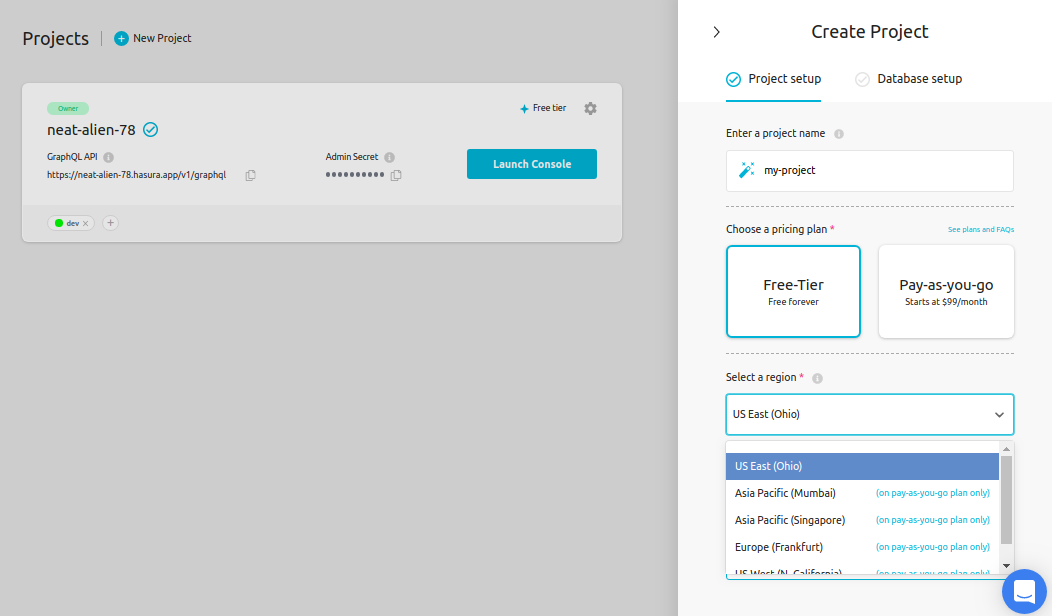
Click on the New Project button on the project-list page. You can select the project’s region of deployment from the Select a region dropdown.
Changing region of an existing project
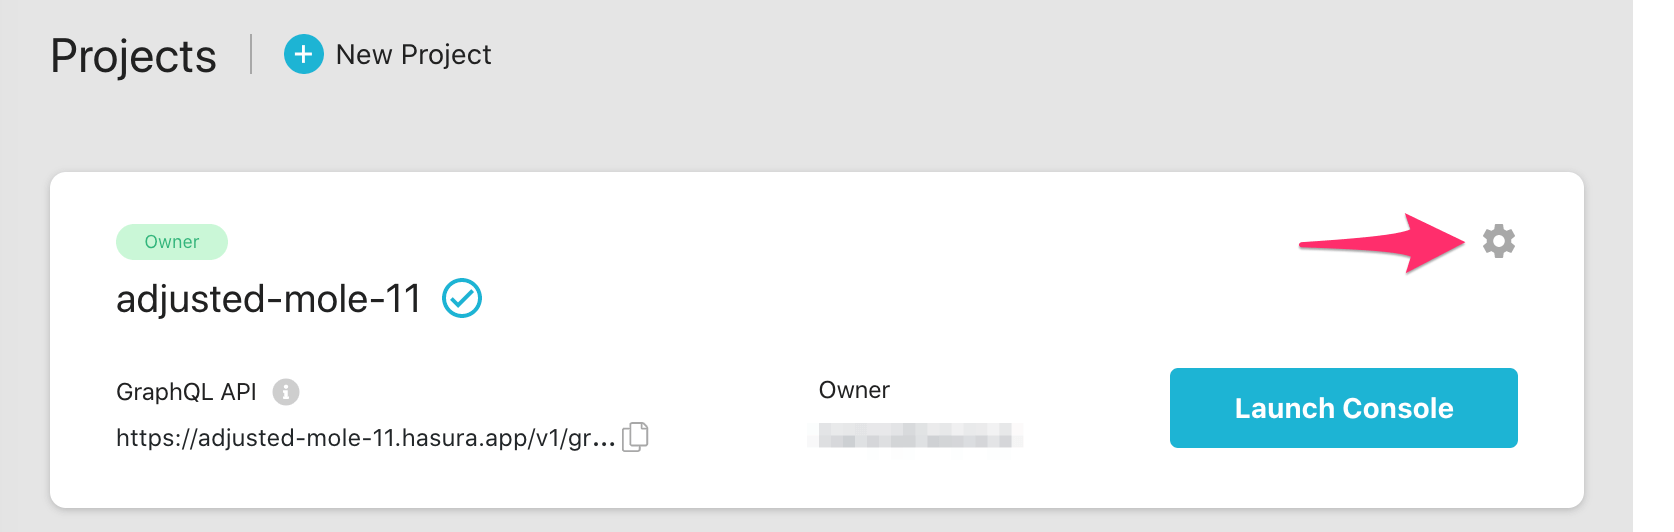
Go the the project details by clicking on the settings icon on your project card in the project list.
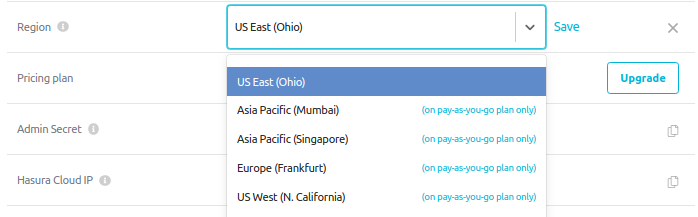
The Region field displays the project’s current region of deployment. For switching the region, click on the edit icon in the Region field.

Choose a region of your choice and hit Save.
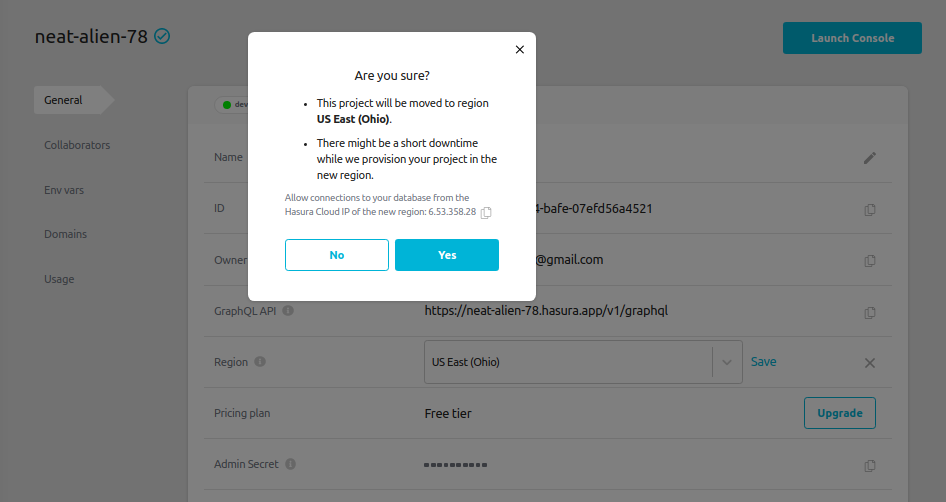
There might be a short downtime while your project is being moved to a different region. If your database allows connections only from specific IP addresses, make sure you add the Hasura Cloud IP of this new region to the list of allowed IP addresses.
Note
Support for deploying a project in multiple regions is coming soon.
Temporary limitation for v2.0 projects
Due to an underlying architecture change, it is currently not possible to change regions of already created v2.0 projects.
Support for this will be added in the very near future.
In the meanwhile, as a workaround, you can “move” your project to a new region by creating a new Hasura project in the region you wish and connect it with your database with the same Hasura metadata as in the previous project.
Step 1: Export metadata from existing project
See exporting metadata to get a copy of the current Hasura metadata on your project.
Do ensure no further changes are made to the Hasura metadata post this.
Step 2: Create a v2.0 Cloud project in your region
See Step 1 of creating projects to create a new Hasura Cloud v2.0
project in the region you wish.
Step 3: Connect your database with the same name to the new project
See Step 2 of creating projects to connect your existing database to
the new project. Please ensure you set the same database name as in the current project.
Step 4: Apply the exported metadata to the new project
See applying metadata to apply the earlier exported metadata to the new project.
Your GraphQL API should now be regenerated as in the earlier project.
 Thank you for subscribing to our newsletter!